|
|
|
|
|
|
Tutorials |
|
Duplicating Objects along a CurvePage 2 |
|
|
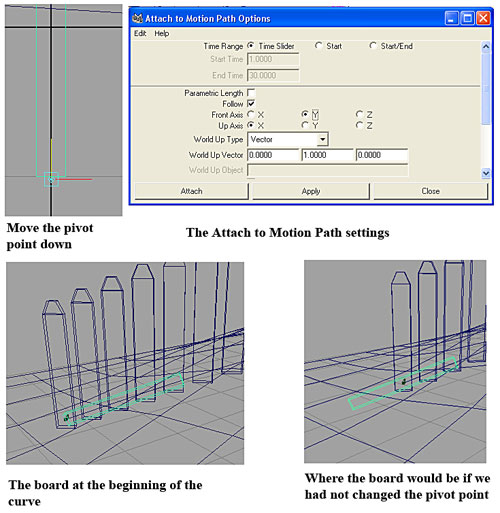
If you open the Outliner, you'll see that now you have a new group called snapshot1Group, which contains all the new boards. You also still have the original cube (pCube1). You can delete this original piece, we don't need it anymore. 13. Now let's make the horizontal boards. Go to Create / Polygon Primitives / Cube -- options box. Reset the settings (Edit / Reset Settings), then adjust the settings like this: Width = 0.2 Height = 2 Depth = 0.1 Click Create. 14. Go to the front view and zoom in on the object. We're going to move the pivot point down to the bottom. Hit the W key on your keyboard, then hit the Insert key to get into pivot mode. Move the pivot point to the bottom of the cube. 15. Hit the Q key, then go to the top view and SHIFT-select the curve. Go to Animate / Motion Paths / Attach to Motion Path -- options box. Reset the settings. (Edit / Reset Settings), then change the Front Axis to Y. The other settings are fine as they are: Time Range = Time Slider, Follow = on, Up Axis = X. (We want the boards to be parallel to the ground, with the Y axis of the cube facing forward, following the direction of the curve, and the X axis of the boards to be perpendicular to the ground plane.) Click Attach, then look at the board: Now it's at the beginning of the curve, following its direction and orientation. See figure 11.
|
|
|
|
|
Figure 11 |
|
|
16. Go to Animate / Create Animation Snapshot -- options
box. Move the window so that you can see your scene behind it. It's best
to be in wireframe view for now so that you can see the objects clearly.
Reset the settings, then choose Time Slider for the Time Range and hit
Apply . As you can see, the default setting of 1 object per frame
(Increment = 1) is not good in this case, so undo, then experiment and see
which setting works best. I settled on 1.71. Close the window.
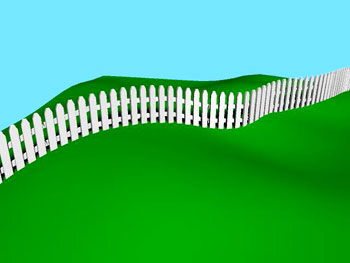
If you go to the Outliner, again you'll find that you have a new group (snapshot2Group) and you still have the original cube. Delete the original cube. 17. Select snapshot2Group and go to shaded view. As you can see, the horizontal boards follow the hills and valleys, but they need some adjustment. First of all, we need to raise them a bit, so move the group up above the ground. We also need to move them behind the vertical slats, so move them in the X and Z axes as necessary. Since these boards are long, rigid pieces, they can't follow the curve as precisely as the vertical slats. So we need to make some adjustments to line the horizontal and vertical pieces up to each other. Select an object, and center its pivot point by going to Modify / Center Pivot. Now you can move and rotate the object easier. You might want to make a shelf icon for this command. (Go to your Custom shelf, then go to Modify / Center Pivot, but instead of just clicking on the command, CTRL-SHIFT-click it. This will put the command on the shelf. Now you can just select an object, click on this shelf icon, and start tweaking.) First I adjusted the horizontal boards, then I adjusted some of the vertical slats, too. I also had to make the last horizontal board shorter, since, because of its size, it went beyond the last vertical slat.
|
|
|
18. Once you're happy with the arrangement of the horizontal and
vertical boards, select the horizontal boards' group (snapshot2Group), and
duplicate it. Don't forget to reset settings in the duplicate options
first, since now we'll only need one copy of this group and we'll move
them up in the Y axis manually. After you duplicated the group, move this
new group up in the Y axis, so that now you have two parallel rows of
horizontal boards.
And there you go, a very simple picket fence. (Fig. 12)
|
|
Figure 12 |
|
|
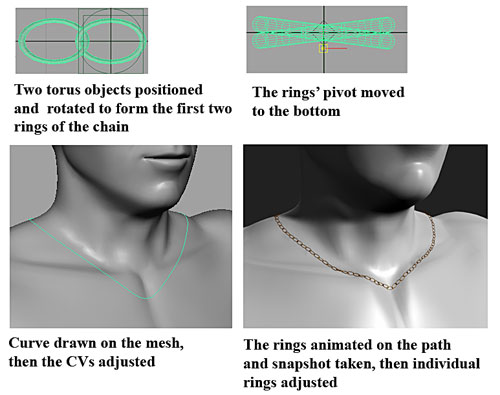
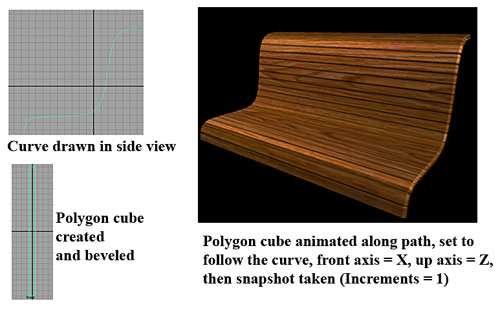
Some more examples:
|
|
|
|
|
|
|
|
|
Well, that's it - I hope you found this tutorial helpful.
|
|
|
Copyright © 2002-2012 by Susan Lee. |
|